

“Smile! Show us your pearly whites! Say ‘Cheese’!” Do any of these phrases fill you with dread? Have you resorted to closed-mouth grins in photos or even simply editing photos to whiten your teeth? If that sounds like you, I think I might’ve found a solution. It’s called Pure Smile, and the good news it takes less than an hour and is much more affordable than you may think.
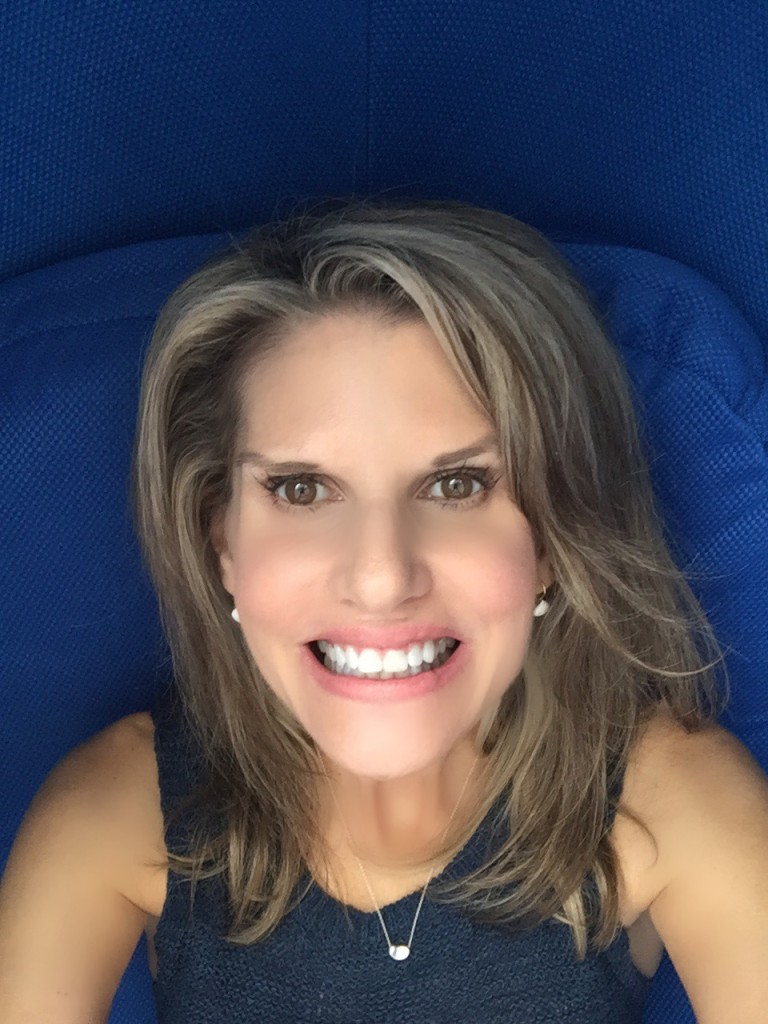
Given that I’d previously tried other at-home tray systems, I was more than keen to be able to compare processes and to share with you my experience. Here’s how it all went. But first a cheesy, toothy-grin – my “before” pic:

Pure Smile Brisbane is located at Westfield Shopping Centre, Garden City. (Just check the website for the other locations in Sydney and Melbourne.) I was informed that it was located toward the Kmart end, near H&M. As I was running 15 minutes I phoned the 1300 number to advise and the lovely lady on the phone thanked me and assured me she would let them know on my behalf. Being unfamiliar with the centre, I checked in with Information for directions. I was advised that these stores can change locations so she double-checked for me to ensure she didn’t send me in the wrong direction. Of course I’d grabbed the first park I could find which happened to be at the opposite end of the centre! Upon arrival, I was very impressed with the super-clean and almost space-age facility, equipped with super-comfy egg-shaped chairs that thankfully would also provide complete privacy. I was greeted by the delightful Veronica and promptly led to my very own “pod”. Here’s a pic of a pod…

Veronica explained what I was about to experience and then brought me a little plastic cup with a cute little foam-tipped “toothbrush”. After brushing with this solution, she looked at my teeth and gauged their whiteness against a tray of synthetic teeth ranging from white to a dull-yellow. We worked out where my teeth were on this scale and I was told approximately where I could realistically expect my teeth colour to be after the treatment. I was receiving the Signature Treatment (the most effective which does involve the use of Hydrogen Peroxide). “Bring it on” I said. “Let’s get these little suckers whiter!”

Next, I was given a plastic retractor to insert into my mouth. I’m not sure if that’s the correct word for this contraption, but I believe dentists use something similar? Not that I’d know. I avoid dentists at all costs, and whatever they do use whilst I’m blissfully sedated is beyond me. But that’s a whole nother story! Now, back to the retractor. Once inserted into your cheeks you will be able to see ALL of your gums and teeth with ease. And You. Will. Look. Hideous! Thank goodness the little egg-shaped pod that I was seated in hid me from the rest of the world, ensuring that I wasn’t at risk of scaring any unsuspecting shoppers or small children!
Another thing about that retractor. If you have a small mouth (yes, apparently I do, contrary to what my family may say, given the amount of talking I do with ease!) you may find this bit a little uncomfortable. Your cheeks/face might feel a bit stretched and you’ll be quite relieved after your first 20 minute session is completed. Don’t get me wrong. It’s certainly not painful. It’s just obviously an unnatural position for your cheeks to be in for any length of time, so naturally it’s a relief when it comes out of your mouth!
With the retractor in place, you pop a drop of clear gel onto the centre of each tooth and spread it over the surface, concentrating on the middle eight teeth. Then I was given a pair of not-very-stylish but necessary, rose-coloured glasses and blue light was placed directly at the front of my mouth. It’s this blue light that activates the gel and makes it work so effectively in such a short space of time. A tip from me: Don’t be scared to spread the gel right down to the gumline. I was initially a little hesitant as with previous tray treatments I’d tried, the gel had stung my gums. After my first 20 minute session when we took off the retractor to check results there was a visible line where I’d neglected to place the gel. So for the second and third I made sure to be a little more generous with the gel and to spread it right down to the gumline. You may be able to see what I mean better from the pic below.
 After wiping off the gel (and getting a short break from the retractor!) we repeated this process three times. I won’t lie. I was glad when the third session was complete, and purely because of my “small mouth” I’m sure! I think a child-size one would have been plenty for me. I’ll know this for next time which will be in 6 – 9 months. Yes, that’s how long I can expect my results to last! Happy days! Here’s my teeth after 2 treatments:

After the third 20 minute session, I was given a tray filled with a remineralising gel. This was gently popped in my mouth and not uncomfortable in the slightest – especially compared to the retractor-thingy! It stayed in for 15 minutes after which time I then rinsed with water and brushed my teeth.
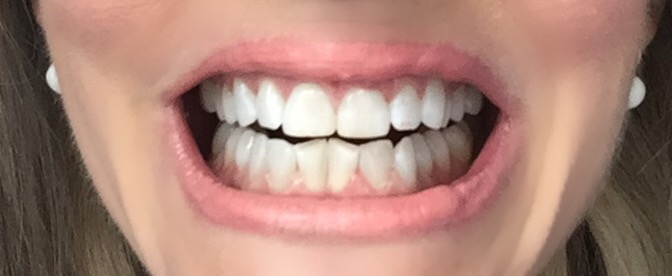
And Voila! That’s it! Visibly whiter teeth in a little over an hour! My teeth improved by approximately 6 shades. Admittedly, my teeth were not very yellow to begin with, but there were areas near the gumline that have definitely visibly improved. I was very happy to see how much whiter overall my teeth were after the treatment. I was then given a kit to take home which consisted of a foam – a whitening cleanser – to replace my normal toothpaste; a remineralising gel, and also a whitening pen for “touch-ups”.
After treatment, I wasn’t allowed to eat for 2 hours, and for the rest of the day avoided anything like red wine, tea etc – the big culprits when it comes to staining teeth. Lucky for me I don’t drink red, and only have one cup of tea a day, and don’t smoke, so I should be able to maintain my new pearly whites with ease.
Note: I took the above selfies on my phone before treatment, between each session, and after, but unfortunately even though I was in the same chair the whole time, natural lighting changes (one minute sunny, the next, stormy) made the results difficult to accurately demonstrate photographically. I’ve included here as many as I can to hopefully give you some indication of my results.
Disclaimer: I was invited to trial this treatment in return for an unbiased review here on my blog. Just because this session was gifted to me I can assure you it in no way influenced my appraisal. But suffice to say I was very pleased with the results and process and would highly recommend Pure Smile as an affordable and quick solution for teeth whitening!
And finally…here’s another great article from Positivehealthwellness.com with other teeth-whitening options for those who wish to try them. See? I always promise an unbiased review and understand that what floats my boat may not be what you’re after!
Cheers, Al 🙂


Thanks Big Al – I’ve been wanting to try a teeth whitening exercise of some sort but didn’t know where to start. Now I do!!!
You’re very welcome! Do make sure you book online to get the 20% off price too. Send me some before and after pics too or pop them in the comments below 🙂 Cheers, Big Al 🙂
Hi There
I tried this treatment but didn’t worked very well athough staff was friendly.
After 15 min session they said we can’t guarantee you about result and I felt like I would spent more $100 with proper dentist clinics than here to get guaranteed results.
I would not recommend this treatment to anyone it’s just wastage money